Lith printing: a beginner's guide to the most unpredictable process in the darkroom
13 June 2026
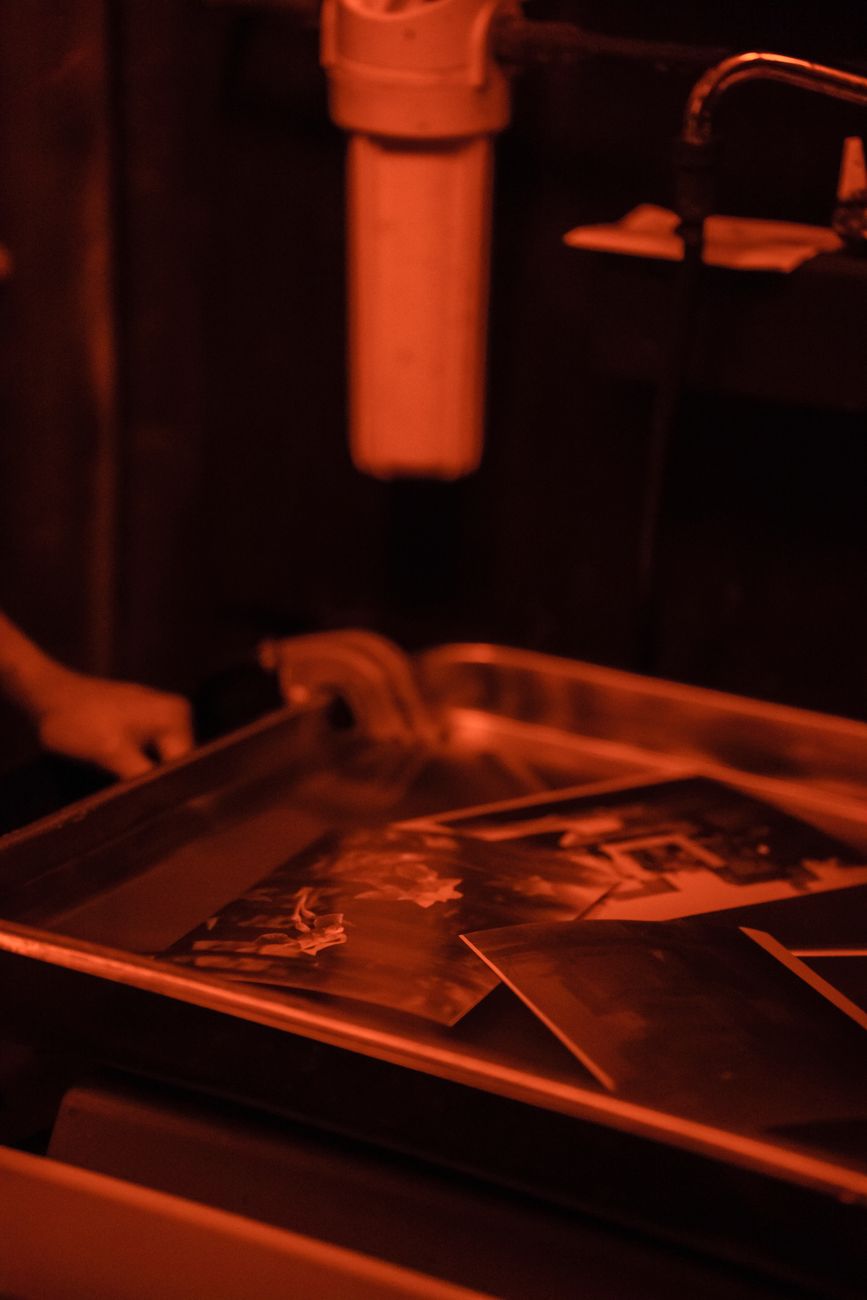
Lith printing breaks every rule you were taught about consistency. You overexpose the paper by two or three stops, drop it into heavily diluted lith developer, and then you wait — five minutes, eight, sometimes twelve — while almost nothing happens. Then the shadows start to run away from you, and the whole game becomes knowing the exact second to snatch the print out of the tray.
That snatch point is everything. Pull too early and you get a flat, muddy print. Too late and the shadows block up into soot. Get it right and you get what lith is famous for: creamy, delicate highlights against gritty, infectious blacks, often with colour shifts from peach to olive that no two prints ever repeat.
What you need to start
- A lith-capable paper. Foma's Fomatone and Fomaspeed both work beautifully; most modern multigrade papers don't.
- Lith developer at high dilution — we use Moersch Easylith at 1+1+38 as a house starting point.
- Patience, and a red torch for peering into the tray.
Our standard first-night exercise
Take a negative you already know how to print straight. Expose at your normal time plus two stops, develop until the shadows just begin to gallop, snatch, and fix. Then do the same print again and snatch fifteen seconds later. Comparing that pair side by side teaches you more about lith than any article — including this one.
The developer exhausts as the night goes on, and "old brown" (partly used developer) is prized rather than binned: it warms the highlights further. This is the only process where the club fights over who gets the dirtiest chemistry.
Come to a lith night. Your first three prints will be terrible, your fourth will be interesting, and your fifth will be on your wall by the weekend.